
By default, Windows does not show a confirmation message when you delete files
or media. Instead, they are immediately moved to the Recycle Bin.
This can be handy for quickly removing unnecessary files. However, it also
makes it easy to accidentally delete something important. Fortunately, Windows
10 and Windows 11 both have a built-in option to show a confirmation dialog
before any deletion — giving you an extra layer of protection.
How to Enable the Delete Confirmation Dialog in Windows 10 & 11
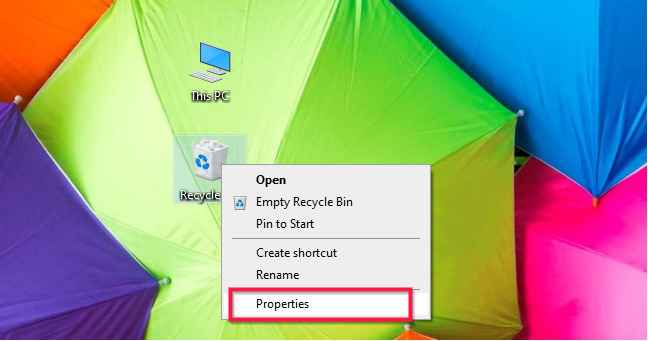
Right-click on the Recycle Bin icon on your desktop and select
Properties.
If the Recycle Bin icon is not visible on your desktop, refer to our guide on
how to add the Recycle Bin icon to the desktop.
Inside the Properties window, tick the checkbox that says Display delete
confirmation dialog and click OK.
You can also adjust the Recycle Bin storage size from this
window. The values are in MB — keep in mind that 1024 MB equals 1 GB.

From now on, whenever you right-click a file and choose Delete,
a confirmation box will appear. You can then confirm or cancel the deletion.

How to Permanently Delete a File Without Routing the File to Recycle Bin
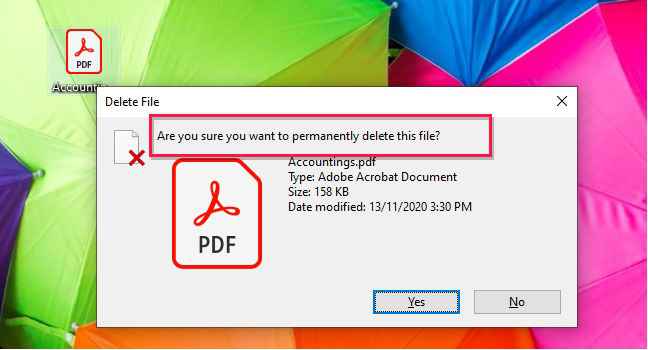
If you want to delete a file without sending it to the Recycle Bin, press
Shift + Delete on your keyboard while a file is selected.
This permanently deletes the file straight away — it bypasses the Recycle Bin
but will still show the confirmation dialog if you have it enabled.
Use this shortcut with care, as the file will not be recoverable through
the Recycle Bin.
Frequently Asked Questions
How do I turn off the delete confirmation dialog?
Go back to Recycle Bin → Properties and uncheck the
Display delete confirmation dialog option. Click
OK and the prompt will stop appearing.
Why is Windows not asking me before deleting files?
The delete confirmation dialog is turned off by default in Windows. Follow the
steps above to enable it. If you have already enabled it but it is still not
appearing, try right-clicking the Recycle Bin and selecting
Properties again to confirm the checkbox is still ticked.
Does Shift + Delete bypass the confirmation dialog?
No. Shift + Delete bypasses the Recycle Bin — the file is
permanently deleted and will not be moved to trash. However, if you have the
delete confirmation dialog enabled, it will still appear asking you to confirm.
The difference is that confirming will permanently delete the file rather than
sending it to the Recycle Bin.
Great!! thanks for sharing