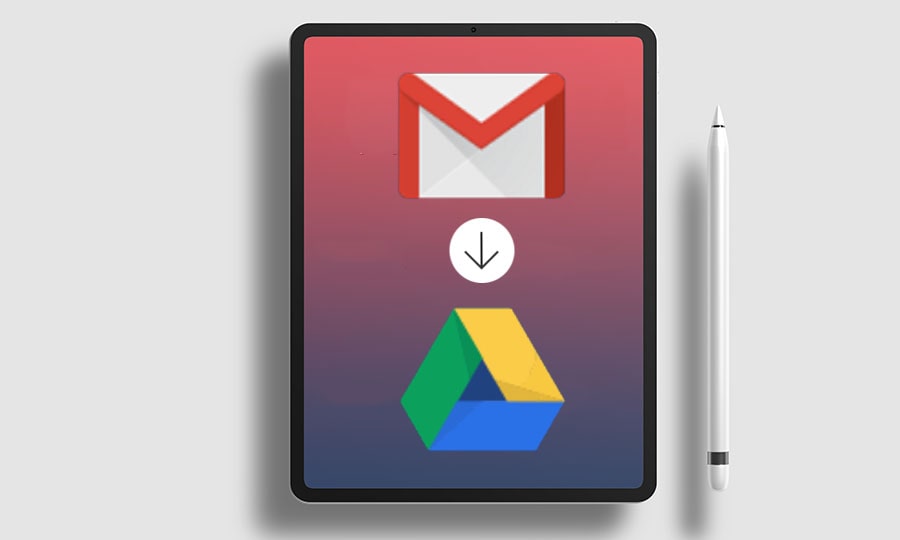
On a daily basis, we receive many important emails with essential documents attached. In most cases, these attachments are crucial, and we may need to save them to our local storage or Google Drive. However, keeping an eye on every single email and manually saving attachments to Google Drive or any other secure storage can be a challenging and time-consuming task.
In this article, we will discuss an easy, efficient, and automated way to extract attachments from your inbox emails, including PDFs, Word/Excel documents, and images, and save them automatically to your specified Google Drive folder/directory. This is cool right !!
To accomplish this, we will use Microsoft Cognitive Service’s ‘Power Automate’. Power Automate is a cognitive automation service by Microsoft that can automate several tasks without requiring a single line of code. Power Automate offers some key functionalities free of cost, and saving attachments to Google Drive is one of them. Without further ado, let’s dig into the process below.
1. Create Microsoft Account/Email
To use Microsoft Power Automate, you’ll need a Microsoft email account. If you already have one, you can skip to step #2. If you do not have an account, Click Here and create one free of cost.
2. Login to Power Automate
To log in to Power Automate, use this link: https://us.flow.microsoft.com/. To quickly access the site, please Click Here
Once you’ve logged in, you’ll be taken to the Power Automate home page. From here, we need to create an automated flow that will monitor our Gmail inbox for new emails with attachments. To speed up the process, Power Automate offers several pre-built templates, and there’s one available for pushing Gmail attachments to Google Drive. We’ll be using this pre-built template to complete the task.

3. Search for Gmail Attachments Template
On the main search bar of the home page, enter ‘save Gmail attachments to Google Drive’. This will filter the Gmail attachments template for us. Click on it to proceed.

4. Authenticate Gmail and Google Drive Sign-in
The next step is to sign in to your Gmail and Google Drive accounts to give access to Power Automate to monitor your inbox and storage. The template requires two connections, one for Gmail and one for Google Drive.

Click on the “Sign in” button next to Gmail. This will open a small window with the Gmail sign-in page. Enter your email and password to proceed. Once you’ve done that, click on the “Sign in” button next to “Google Drive” and enter your credentials.

5. Enable the Flow and Check Connections
After successfully logging in, you’ll see a green checkmark next to both Gmail and Drive. Now click on ‘Create Flow’ at the bottom of the page and it will create the flow for us.

6. Check Connections & Customize the Flow
Once the flow is created, ensure that its status is set to ‘On’. On the right-hand side of the page, you’ll see your Gmail account where the flow will be triggered upon new email arrivals, as well as your Google Drive account details, where your attachments will be saved.

7. Set Specific Email Filters (Optional)
We can also save attachments from a specific email only. To do that, click on “Edit” located at the top left corner. This will open the flow, and you’ll notice two blocks on the next screen. The first one is the Gmail controller, and the second one is the Google Drive controller. To see the options under each controller, simply click on it, and it will expand. The Gmail controller is typically triggered from the inbox, and it is selected by default.

To select a specific email, click on the “show advanced options” toggle. You will see the following input fields there.
- To: Incase if you want to forward to someone else. Leave it blank if not required.
- From: If you want to save attachments from specific email / emails. Leave it blank if not required.
- Subject: If you want to save attachments from emails that have a specific subject. Note: Leave it blank if not required.
- For “Importance & Starred” make sure “All” is selected
- Make Sure that for “Has Attachments” & ”Include Attachments” dropdowns “All” is selected.

8. Specify a Google Drive Folder to Save Attachments
You can also specify a specific folder on your Google Drive to store the attachments. By default, it will save the attachments in the Google Drive home directory. To save the attachments to a specific folder, like ‘Attachments’, click on the ‘Apply to each attachment’ controller. Then expand the Drive controller. In the ‘Folder path’ input, click on the folder icon followed by ‘>’ and finally select the folder where you wish to save your attachments.

span>
9. Save and Test the Flow
The last step is to click on ‘Save’ on the top right-hand side. After that, Power Automate will recommend testing your flow. To do that, click on ‘Test’.

10. Test & Check the Flow History
Now it’s time to test the flow. Send an email to your Gmail from another account, keeping in mind that the flow is not triggered immediately as the email arrives. It is automatically triggered between 14 to 16 minutes. Once the flow is triggered, all successful runs will be displayed in the ‘History’ section located at the bottom of the flow.
